Taco Soup

This soup is one of my all time favorites. Its a low carb taco soup that I found when I was trying to do the Keto diet. The soup is so good that I had to tell my dad not to eat it in order to get this photo.

taco package.jpg

Ingredients

  • Ground Pork

  • Rotel

  • Cream Cheese

  • Chicken Broth

  • Taco Seasoning

Props

This is probably the most props I have used in all my food photos. However, they all compliment the main dish and therefore make sense to use.

When using fresh ingredients such as the avocado, lime, and cilantro it is important that they look fresh. Make sure the avocado and lime do not have any nasty brown spots and the cilantro is not wilting or turning yellow. I got lucky with this avocado being at the perfect ripeness for this photo. A trick I use to keep cilantro looking fresh longer is cutting the steams when I get home so that they have fresh ends and placing them in a glass jar with some water before putting the bunch in the fridge. Another trick I used to make the fresh ingredients look fresher was spraying them with water for a dewy fresh look.

When arranging your probs for an image you have to be able to lead the viewer through the image while still informing them what the main focus should be. The taco soup is the main focus, therefore I placed the bowl up front and all the other ingredients are a little more out of focus and are just there to compliment the soup.

 
tacosouplow.jpg

Final Tips

Like my other food images my main source of light is on the left side of the frame. This caused harsh shadows on the right side of the image under the soup bowl and cheese bowl. I lighted the shadows by adding a white fill card on the right side. As I have said in the post before this one this side lighting gives the food more texture.

COOKBOOK.jpg

Incase anyone wanted to try this delicious soup I included the cookbook layout I created in my studio photography class.

Chips and Salsa

One can find this tasty snack at a party or at a Mexican restaurant before the main corse comes out. At my house we tend to have some form of tortilla chip and salsa in the pantry to have on hand when we need a snack or for when guest come over.

chip and salsa low.jpeg

Packaging

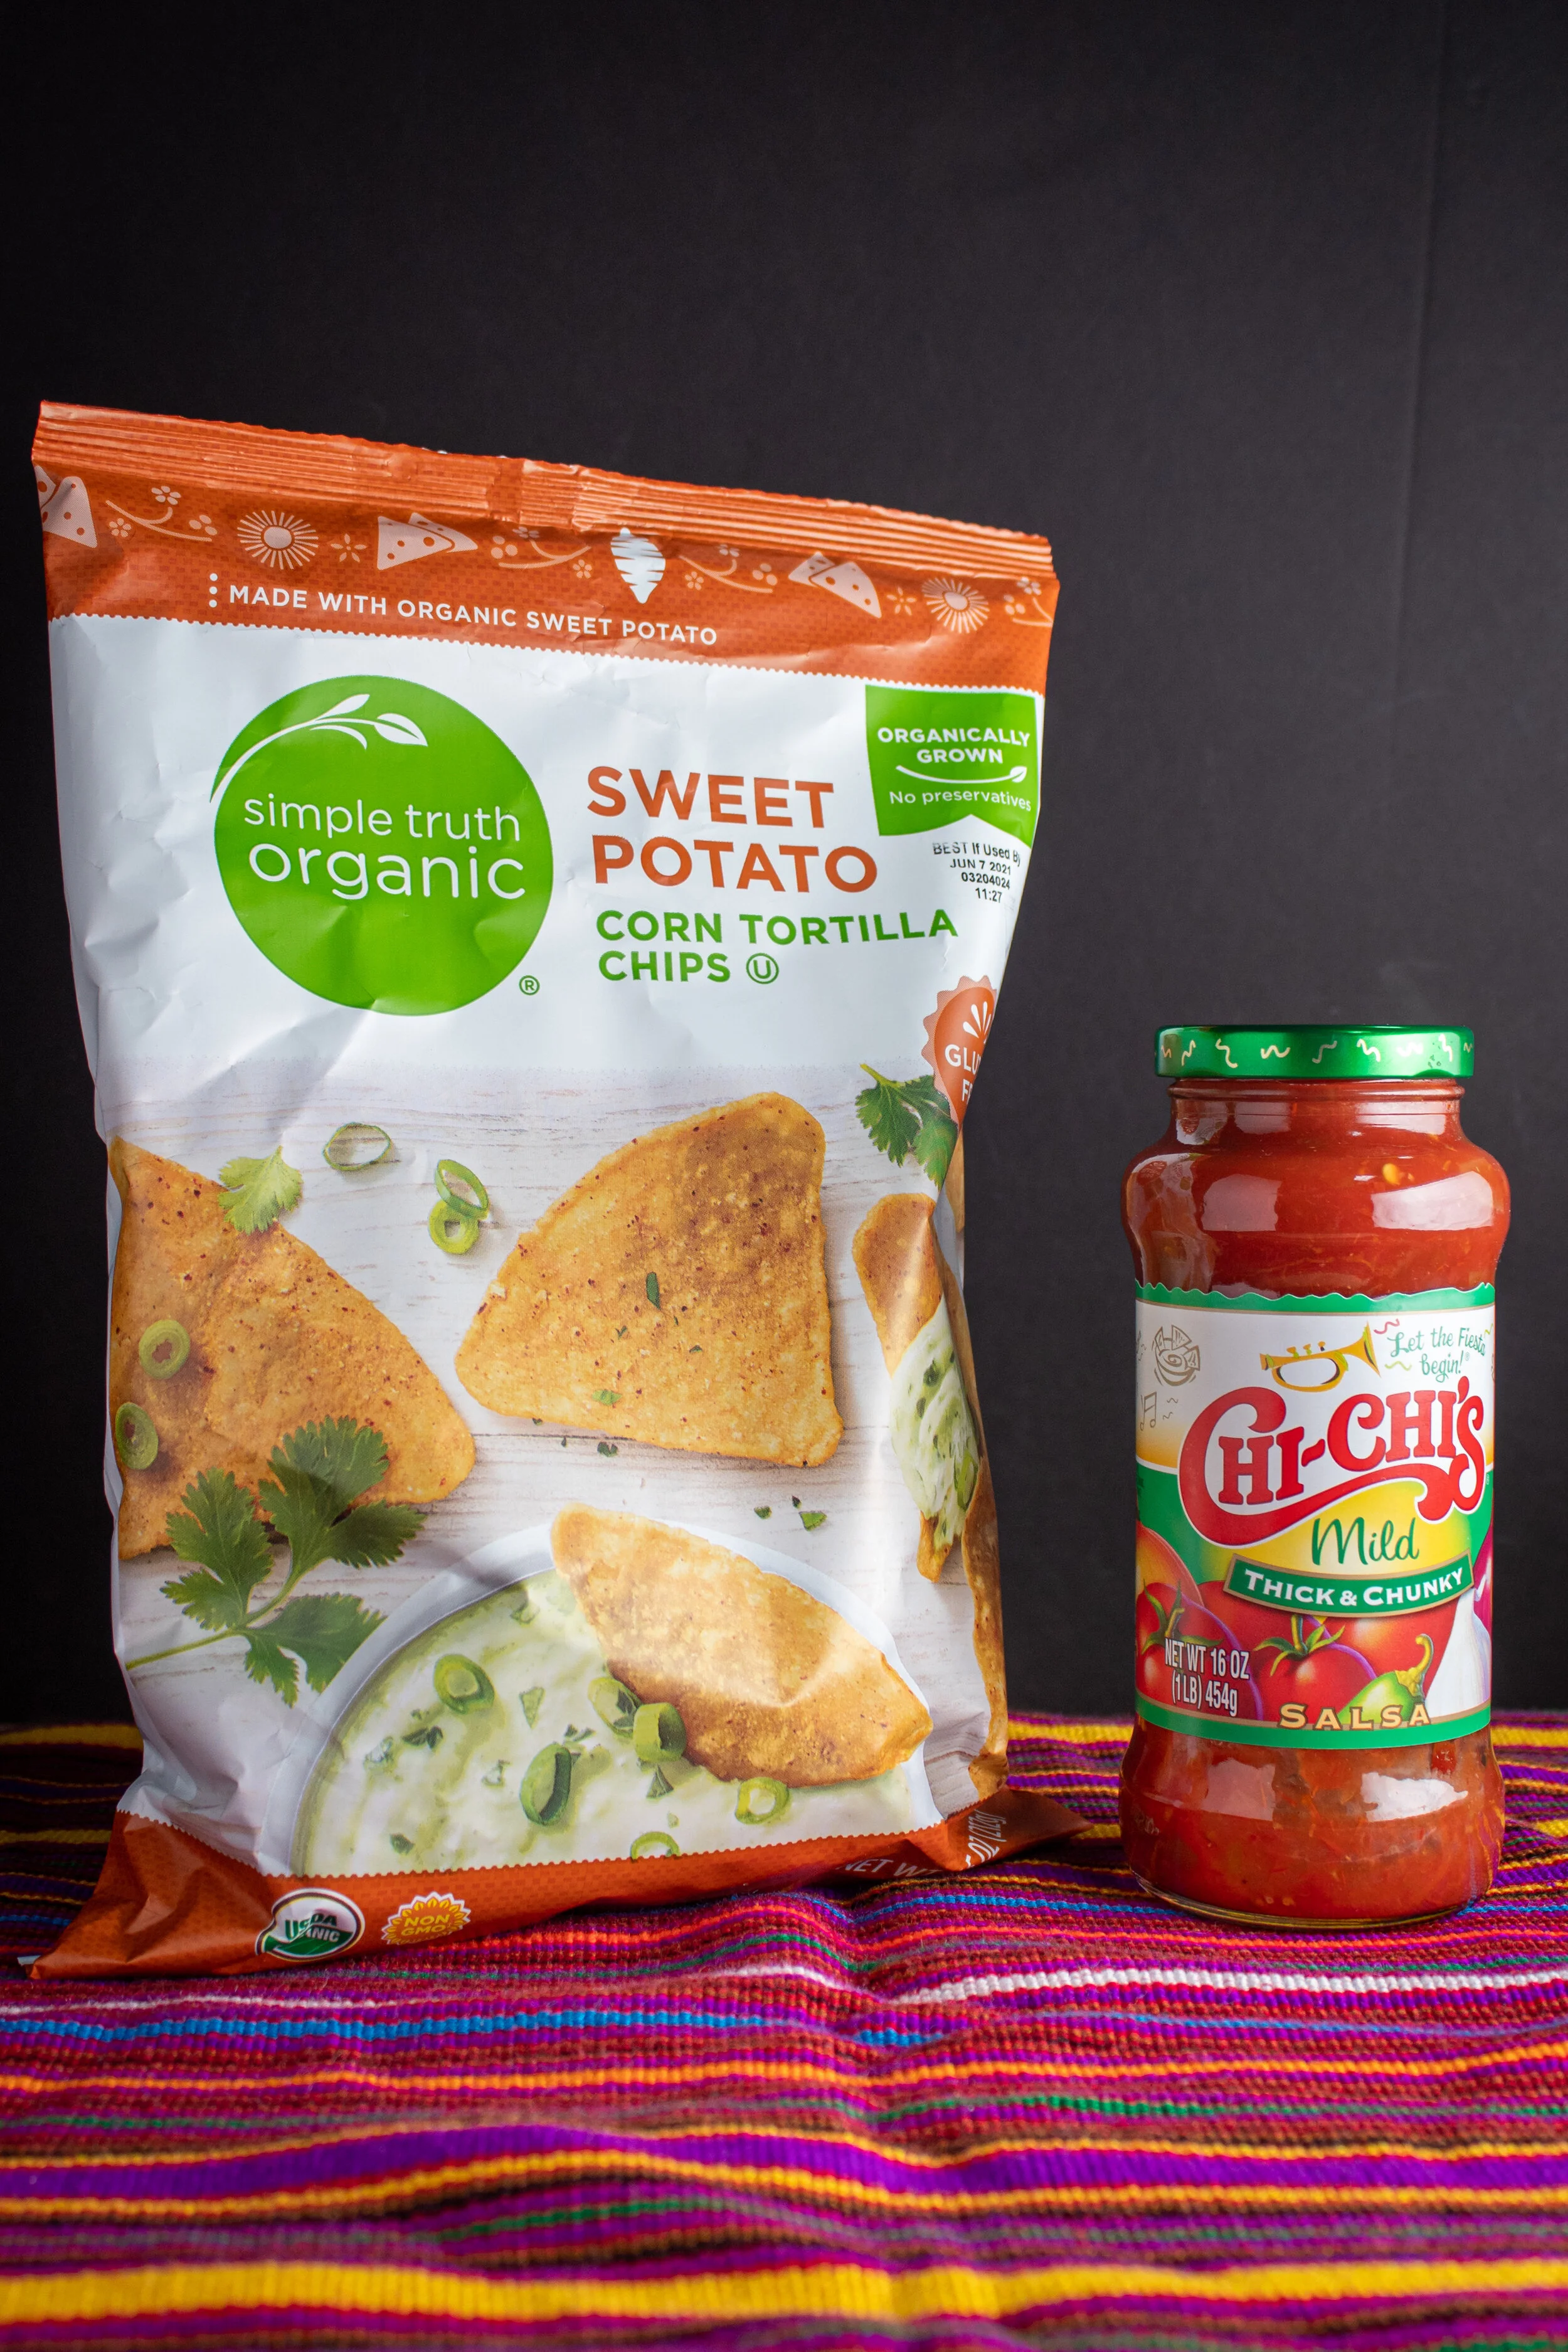
Usually chip bags have a shiny, reflective quality to them that makes them hard to photograph because you end up fighting with the highlights. I got lucky with this bag of chips though because the surface had more of a mate quality to it. I still had to watch the highlights though because the bag is white and reflected light.

The salsa I had was actually not a full, unopened jar. However, when photographing it is important for it to be full, or at least look full. What I did to make it look that way was I tip the salsa jar over on its lid and when I was ready to take the photo I flipped it back so it was right side up and the salsa would stick long enough for me to take the picture. This gave the illusion of a full jar without me having to go out a purchase another one.

Lighting

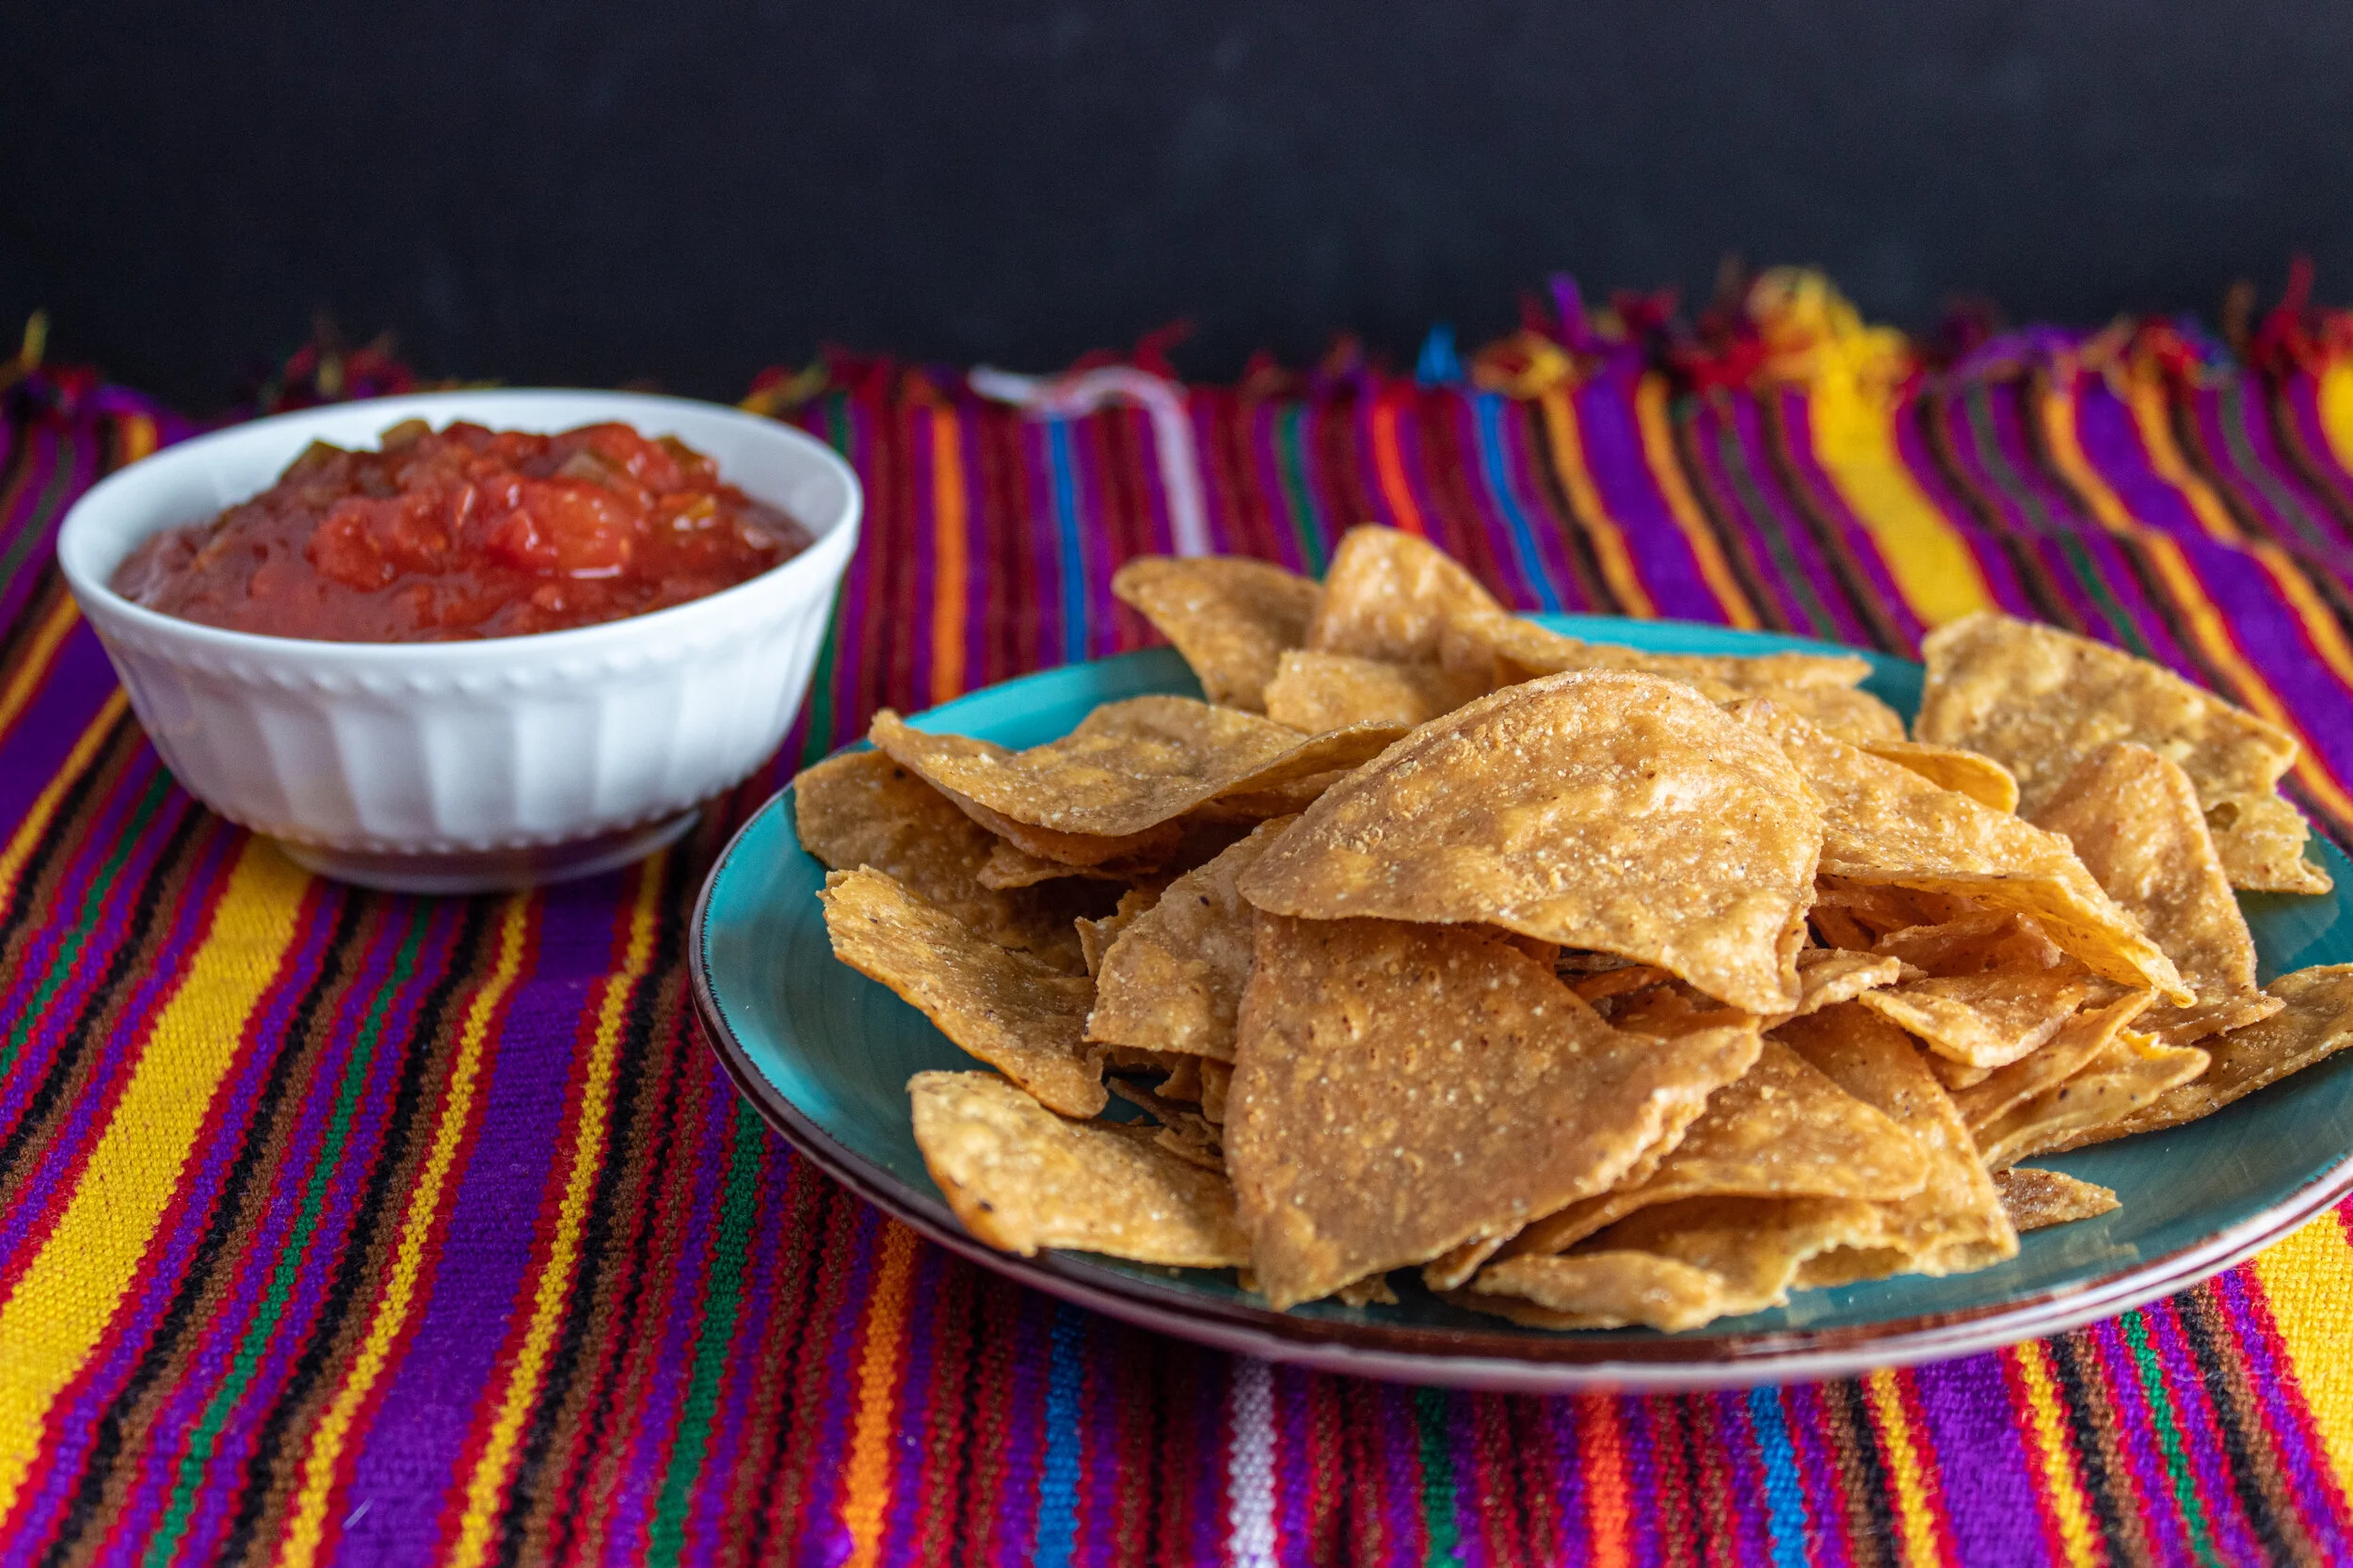
I set up the main source of light on the right side. This sweeping light gave the chips more texture and helped the salsa in the white bowl to not look blown out.

I held a white fill card on the left side so that light would be bounced off and make the shadows not as harsh.

 
chip and salsa low copy.jpeg
 

Final

For this set up I used very minimal props and I probably could have used a bit more in order to make this image have more of a wow factor. The cloth I used gave me a hispanic feel and also had good leading lines to lead the viewer to the chips and salsa. I almost wish that the fabric was longer so then I could have mad it the back drop too and I wouldn’t of had to use the black one.

What makes this image successful though is the lighting because it give the chips so much texture that you can even see the grains of salt.


Gas Station Hot Dog

I do not know about everyone else but I do not typically buy food from the gas station. Especially the hot dogs that have been on the hot rollers for who knows how long. However, for the purpose of this project I thought it was a great opportunity for you all to see how good photography can make even a gas station hot dog look good.

The Packaging/Before

When I bought the hot dogs at the gas station by my house I didn’t take the bun out of the packaging in hopes that it would stay in better shape during transport. If you get to where you are doing the shoot and the bun has become a crumbled up mess then the photos are not going to turn out very well.

Another tip when buy the food from the gas station or even when bringing it from home is bring more then you think you need just in case you mess up you will have another to fall back on.

hackman-capstone11.jpg

In this packaging shoot I left the plastic rap on the hot dog buns for the purpose of showing you to leave it on as long as you can because that it what is protecting your bun from becoming a crumbled up mess.

Lighting

The lighting in this one like the other ones is sweeping over the food from the left on the image. I do this because if I were to have overhead lighting this would make the food look flat. We do not want that because we want the food to have depth and texture.

However you also want to avoid having harsh shadows which can sometimes happen when you are lighting an object from the side. To help fill in those harsh shadows I used a piece of white foam core, or poster board, on the opposite side of the light in order to reflect a little bit of that light back into the hot dogs and reduce the shadows harshness.

Hotdoglow.jpg

The Final Image

For the final image I just used one of the hot dogs and I strategically put condiments on the hot dog in the bun. I got all the condiments for free at the gas station when I got the hot dogs so the cost of this shoot was pretty low. Some other props that I used were a red and white checkered cloth, chips, condiment packets, a glass of water, and a small white plate. I used a small plate so that the hot dog would look bigger and it would help bring attention to it since it is suppose to be the main focus of the image. The other props in the image help to fin in the negative space in the image without drawing too much attention away from the hot dog itself.

Reese's Eggs

HOPPY EASTER EVERYONE!!!

What is you favorite Easter candy? One of mine has to be the Reese’s Milk Chocolate and Peanut Butter Eggs.

I had a few of these around the house so I decided why not do an Easter addition to my blog and show you all how I photographed these delicious treats.

 
Hackman-capstone5 copy.jpeg

The Packaging

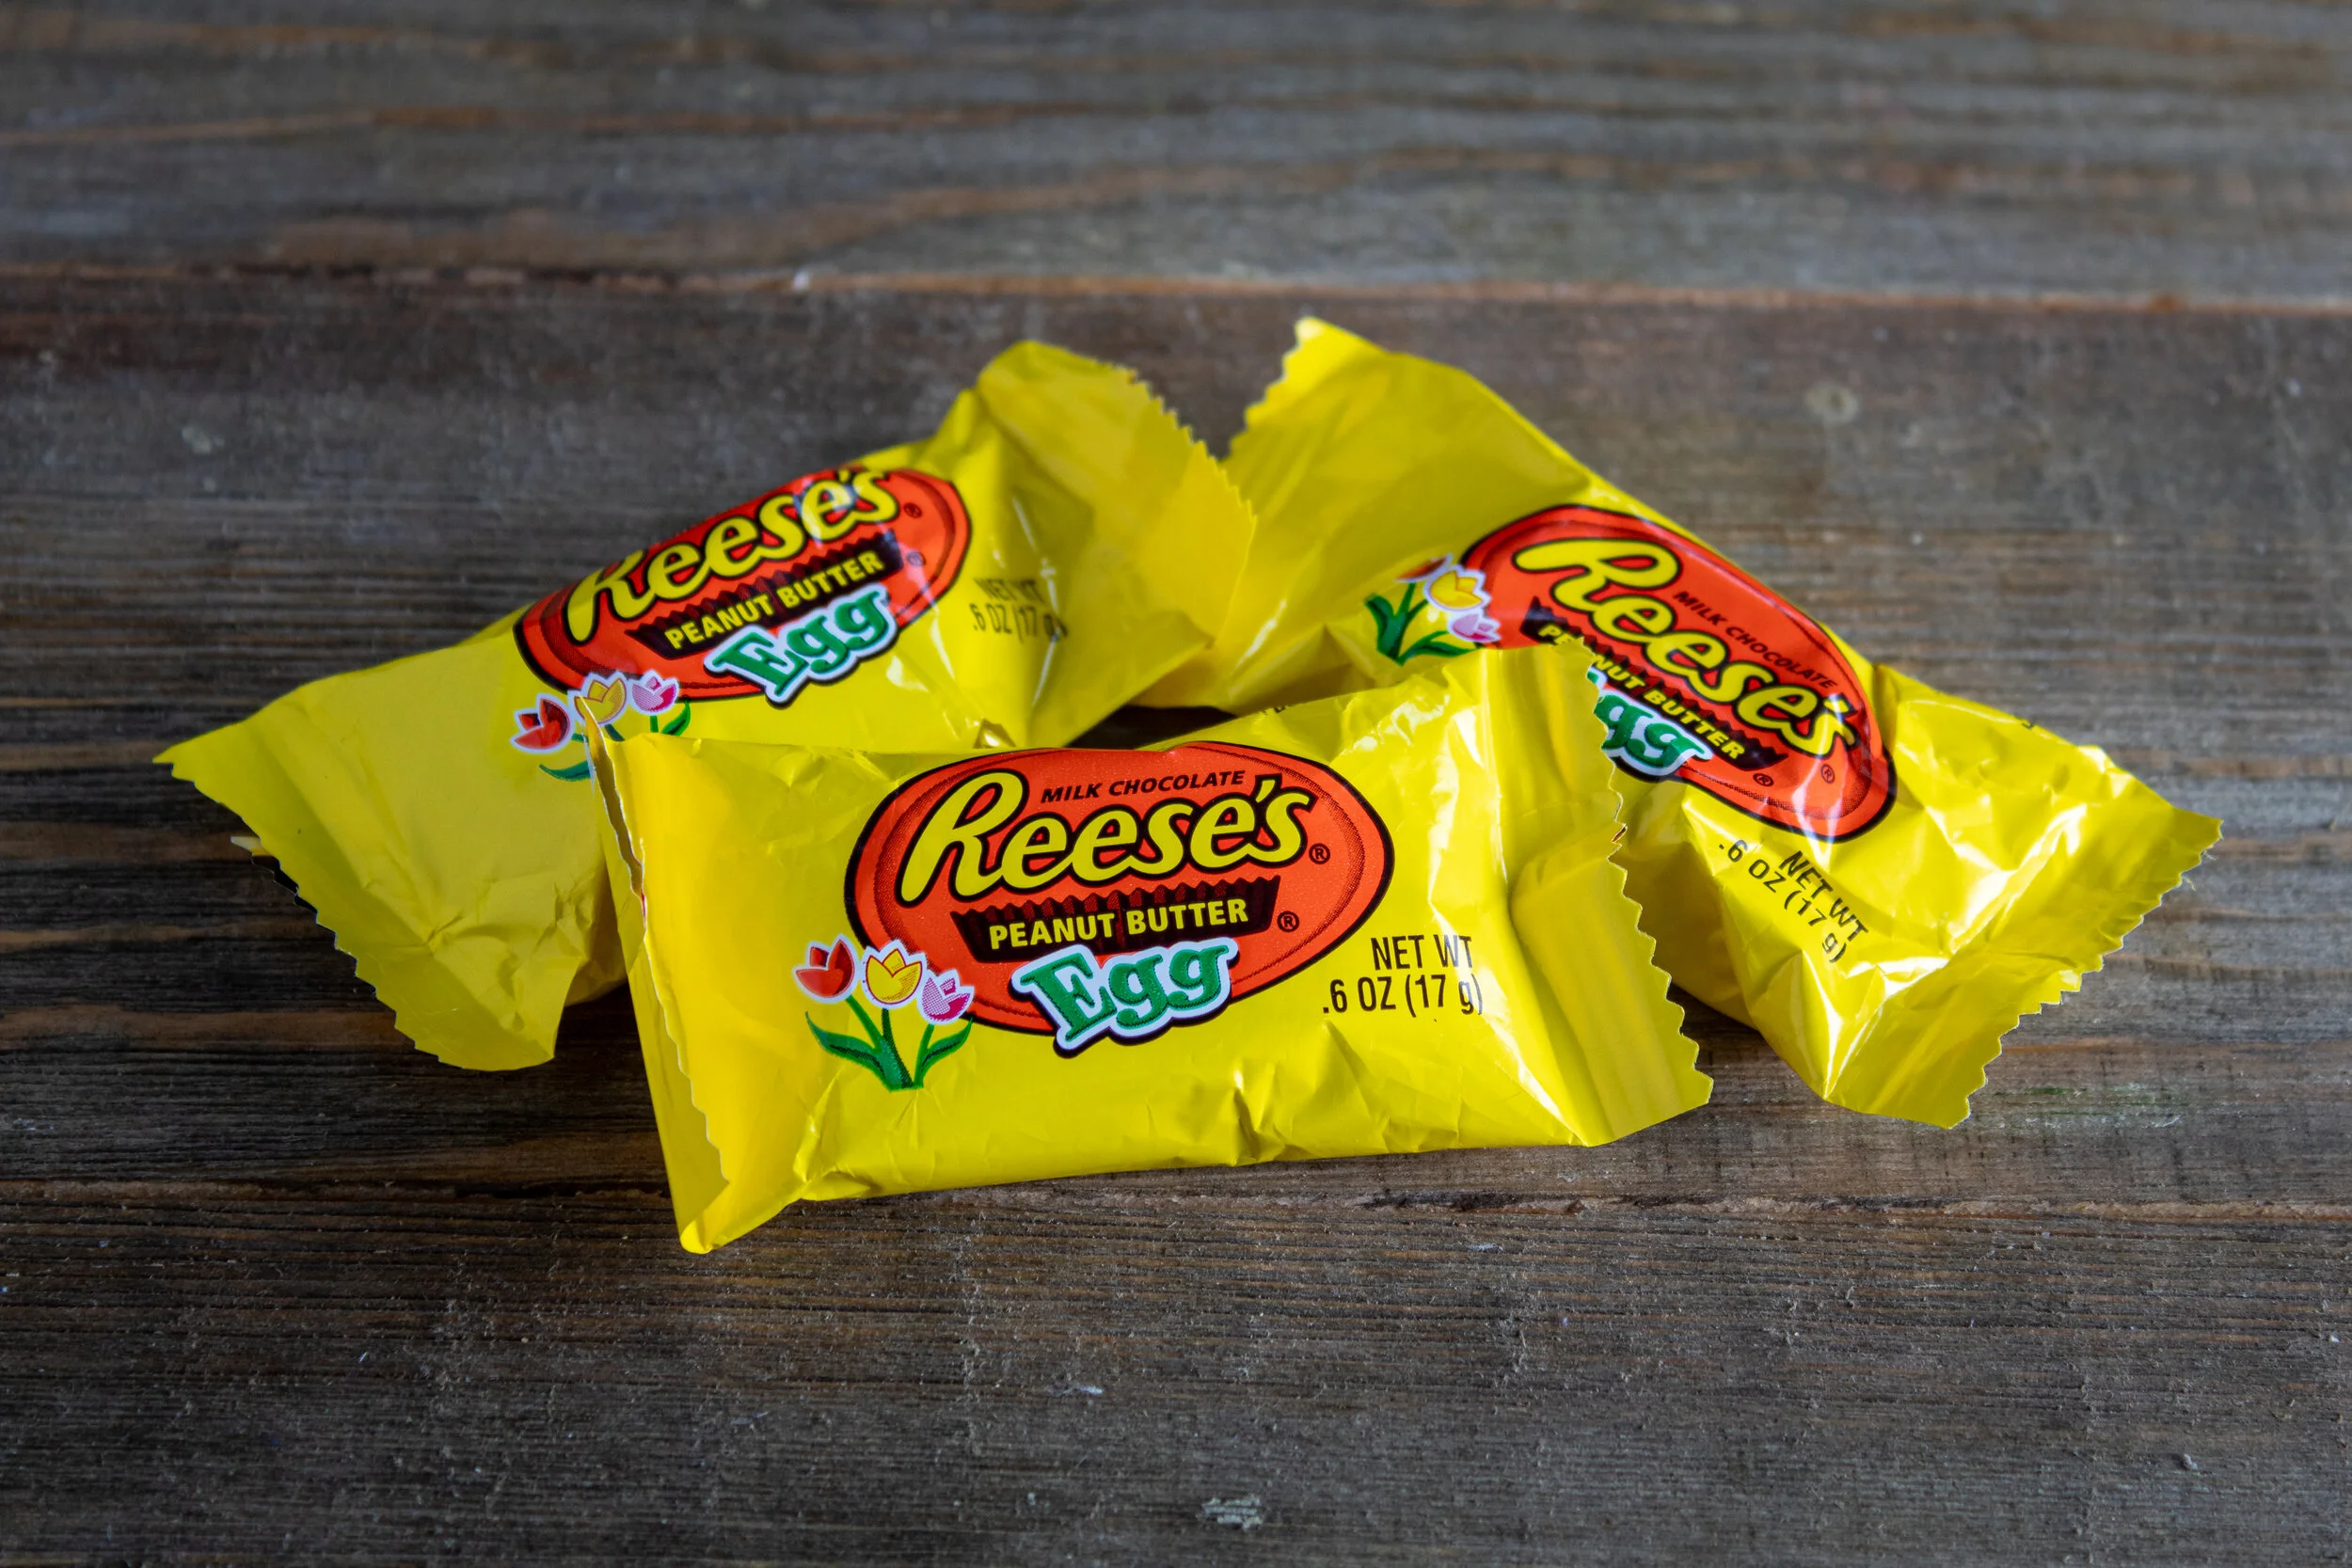
Photographing the packaging on these can be a little tricking because of the shinny quality of it. You need enough light to be able to see the label well but not so much that all you're doing is creating hot spots. Hot spots is when an area of the photo is significantly brighter than other areas making the area look blown out.

Another issue that I was having with this type of packaging was that it was all wrinkled up. I wasn’t able to solve this problem completely but I was able to take some of the wrinkles out by giving each end of the package a little tug. I do not think that the wrinkles are the biggest problem though because it does add some texture to the image.


Lighting

Both images were lit by a strobe light on the right side and a piece of white poster-board on the left side to reflect light. This technic allows for lighting that exposes the product but doesn’t make the image flat and boring.

Hackman-capstone6.jpg

Staging the Final Image

As I have said in post before props are important but you don’t want to take away from the product. Since this is an Easter candy I thought it would be appropriate to use the fake grass like stuff that one finds in their baskets along with the red and white checkered cloth napkin. I kept one of the eggs still in the packaging because I did not feel that the cut egg gave the viewer enough insight into what the product was. Sometimes you have to give the viewer more information in order for them to know what you are selling.

Thanks for reading. I hope you all had a great Easter!


How I Work in the Studio

This is a time-lapse video of how I work in the studio.

I start by setting up my light, table, tripod, and camera. I then get the products I am going to shoot out along with the props that I have.

Then I start the shooting process. I set up the packaged product in a way that displays the label well and I shoot that multiple times and make sure that lighting and everything is right. I then set up what is going to be a final product shoot with props and taking the food out of the packaging. I light that in a way that makes it look good and snap some pictures.

Lastly I clean up the studio and head out.

Popcorn

One of my favorite late night snacks is microwave popcorn. It is low in calories and carbs. Although being the movie theater butter kind doing compare to actually getting it at the movie theater it is a lot cheaper and you can always add more butter if you so desire.

Photographing the Packaging

When photographing the packaging it is important to have even lighting. In the case of this product the bags that you put in the microwave has a plastic cover on it that I removed in order to make sure there was not a glare. This also allowed me to prop up the bag so that it is better seen by the camera.

popcorn 1.jpg
popcorn 2.jpg
thesetup-3.jpg

Lighting and Set Up

Since popcorn is a white to yellow it does not create very many shadows. I was able to use pretty minimal light to set this one up. As seen in the image on the left I used a single light on the side and I did not have to use any white foam core to as fill light because if I added too much light I would end up losing the texture of the popcorn.

I used a clear glass bowl so that you could see all the popcorn. However I felt like the photograph needed more life so I decided to spread popcorn in a random fashion in front of the bowl because we all know no matter how hard you try when eating popcorn it still gets everywhere.

After that I felt the photo still need more so I took some popcorn from the back of the bowl so that the bowl still looked full on camera and I used that to throw/ drop into the bowl. This took many many tries to get just enough popcorn to be in the air at the time I took the photo. However, I believe it was worth it because this technique brought life to an otherwise very still photograph.

Peanut Butter and Gram Crackers

Peanut butter and gram crackers are a great afternoon or evening protein packed snack.

When it comes to photographing this delicious snack how does one make brown crackers and brown peanut butter look delicious? The answer… Lighting!

Before (packaging)

Before (packaging)

Product Shot/ Lighting Tips

When shooting a product's packaging, it is crucial to make sure the lighting is mostly even so all of the product is visible. This photo has its leading light coming in from the left, and I used white fill cards on the right to cut down on harsh shadows and bounce light onto the right side of the peanut butter jar (as seen in the image on the right).

It is also important that the product (the jar of peanut butter) is full and does not look like it has been half used.

I used a black background so that it was not distracting to the viewer and also absorbed the light rather than reflecting light.

During (lighting set up)

During (lighting set up)

Final

Final

Final Layout

When spreading the peanut butter over the graham crackers, give it texture rather than just a smooth surface. Another thing that adds texture to the image is crumbs. These simple things help liven up an image without a whole lot of props.

Lighting is also critical when it comes to bringing out the texture in this image. Light that sweeps across the image is best so that it looks like it is coming in from a window and does not flatten the peanut butter crackers.

In the end, the goal is always to make the food look delicious. With lighting, anyone can achieve that goal.

Cup Noodles

Ramen noodles is a fan favorite when it comes to cheap meals. However, they do not look as good as they do on the package or in a commercial compared to when you cook them at home because we do not have the food stylist and extras that the photographer possible used when they were shooting.

I’m going to show my process and how I made cup noodle look good on camera.

Before (the packaging)

Before (the packaging)

During (the lighting)

During (the lighting)

In the studio I used one light along with a few white poster boards in order to reflect light into areas that fall too dark.

Props are also an important component in not just food photography but all photography. My rule on props is always less is more. You do not what the props to overpower the main focus of the image.

Final image

Final image

The Cup Noodles didn’t have hardly any vegetables in the original cup so I had to bring my own frozen, microwaveable, mixed vegetables in order to make the dish have more color and look more appetizing.

I did a little bit of color correcting and cropping in Lightroom to reinforce the image.

As you can see with lighting, adding more vegetables, props, and slight editing an image that looks appetizing can be made.

Welcome

In this Blog I will be showing the public what goes into a photoshoot with food. I talk about what it takes to light the food and also things that are added to make it look more appetizing. I will be showing before (what the product is alone), during (the lighting scenario), along with the final image.

In addition to this some weeks I may share some food photo hacks that I have found and or used myself when shooting food photography.

I hope you enjoy!!!